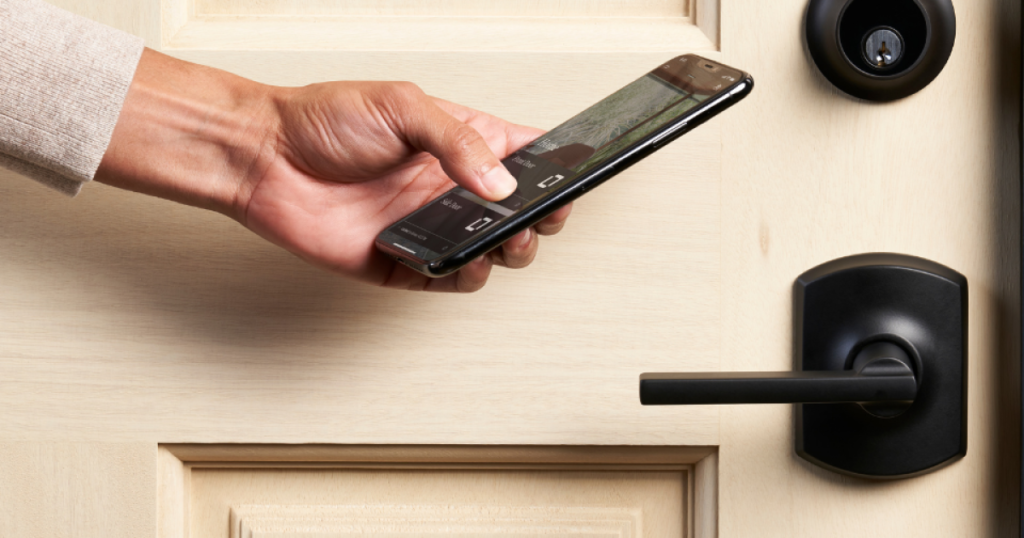
Smart locks have become integral components of modern security systems, providing convenience and enhanced control over access to our homes and businesses. Proper installation and maintenance are essential to ensure these devices function reliably. In this comprehensive guide, we will walk you through the process of smart lock installation and provide tips and tricks for ongoing maintenance.
Part 1: Smart Lock Installation
-
Gather Your Tools and Materials:
Before you begin the installation process, make sure you have all the necessary tools and materials on hand. Typical items include:
- Smart lock kit
- Screwdriver
- Measuring tape
- Drill and drill bits
- Pencil
- Ruler or straight edge
- Screws and anchors
- Batteries (if required)
- Wire stripper (if required)
-
Read the User Manual:
Familiarise yourself with the smart lock’s user manual and installation instructions provided by the manufacturer. Different locks may have specific requirements and steps.
-
Choose the Right Location:
Select the ideal location on your door for the smart lock. Ensure it aligns with the manufacturer’s recommendations. Measure and mark the necessary positions for holes and components.
-
Prepare the Door:
Prepare the door for installation by drilling holes for the lock cylinder, deadbolt, and any additional components required by your smart lock kit. Follow the manufacturer’s instructions for hole sizes and placement.
-
Install the Lock:
- Insert the lock cylinder into the door from the exterior side. Ensure it aligns correctly and is securely fastened according to the kit’s instructions.
- Position the lock body on the interior side of the door, aligning it with the cylinder. Secure it using the provided screws. Make sure it is level and flush against the door.
-
Wiring and Power Supply (if applicable):
If your smart lock requires wiring or a power supply, follow the manufacturer’s wiring diagram and instructions carefully. Use wire strippers and wire nuts to make secure connections.
-
Attach the Strike Plate:
Place the strike plate on the door frame where the lock will engage. Mark the location for the strike plate’s screw holes and drill pilot holes. Attach the strike plate using screws.
-
Test the Lock:
Before closing the door, test the smart lock’s functionality. Ensure that it locks and unlocks smoothly and responds to commands as expected.
Part 2: Smart Lock Maintenance
-
Battery Maintenance (if applicable):
If your smart lock is battery-powered, keep these maintenance tips in mind:
- Replace the batteries with high-quality alkaline batteries when needed. Lithium batteries may offer longer life.
- Check the battery level through the lock’s app or interface regularly to prevent unexpected battery failures.
-
Regular Cleaning:
Maintain the cleanliness of your smart lock:
- Clean the lock’s exterior regularly with a dry, lint-free cloth to remove dust and dirt.
- If the lock includes a fingerprint sensor, keep it clean and free from smudges, which can affect recognition accuracy.
-
Firmware Updates:
Check for firmware updates for your smart lock through the manufacturer’s app. Updates often include bug fixes and improvements to performance and security.
-
User Access Management:
Regularly review and manage the list of authorised users. Remove access for individuals who no longer require it and add new users as needed.
-
Security Awareness:
Stay informed about potential security vulnerabilities or updates related to your smart lock. Manufacturers may release security patches or recommendations for improving your lock’s security.
Conclusion
Installing and maintaining a smart lock is essential to ensure the security and functionality of your device. By following the installation steps and practicing regular maintenance, you can enjoy the convenience and peace of mind that smart locks offer. Remember to consult the user manual and manufacturer’s guidelines for your specific lock model, as different locks may have unique requirements.
You may also like
-
Choosing the Best Pool Contractor in Indiana: Why Wetscapes Fiberglass Pools Stands Out
-
Top Civil Engineering Innovations Transforming Philippine Construction
-
Efficient Cleaning and Care Techniques for Different Surfaces in Your Home
-
Everything You Need to Know About Home Window Replacement and Custom-Designed Window Installation
-
Transform Your Garden with Ashdale Fencing

