
Wall panels are a great method to improve the appearance of any room since they offer both texture and flair to your area. The installation method is simple and doable with the correct tools and planning, whether you are renovating a single room or wanting to update the whole property. A polished, professional finish is possible with some attention to detail. wet wall panels are perfect for a long-lasting, water-resistant surface in places like bathrooms or kitchens where moisture is an issue.
Collect Required Equipment
Before starting your installation, make sure you have all the required equipment available. A utility knife, tape measure, level, pencil, saw, glue or nails will all be required. To guarantee a long-lasting outcome in a high-moisture environment, you must select the correct adhesive or nails suitable for wet wall panels. Being equipped with all your gear will help to simplify the procedure so you can go swiftly and effectively through every stage.
Get the Surface Area Ready
The next stage is getting the surface on which the panels will be applied ready. Make sure the walls are clean and dry. Uneven surfaces should be leveled to help the fixing run more smoothly. To avoid mold or other problems, make sure areas with extra moisture are dry before beginning the fitting. Should you be using wet wall panels, verify that the space is appropriate for their waterproof qualities, such as bathroom or kitchen walls.

Panel Measurement and Cutting
Once the surface is ready, you will have to measure and cut your panels to match the area. Measure the wall’s height and width, then note the panels accordingly. Once the panels are in place, precise measurements are absolutely necessary to prevent gaps or overcuts. Cut wet wall panels with a saw made for the material to guarantee clean, straight cuts.
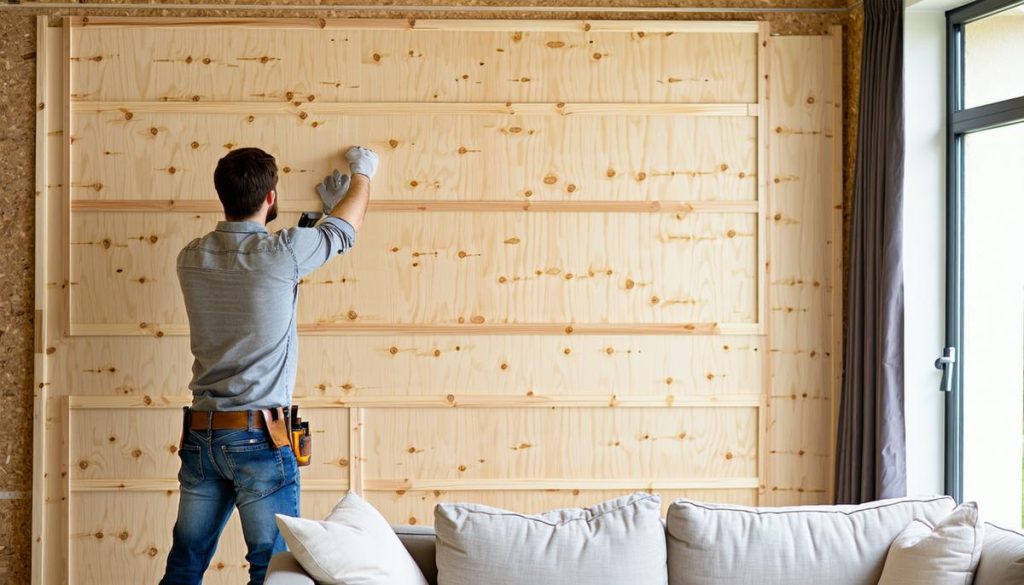
Putting the Panels in Place
The panels are cut and ready to go; now to begin installing them. Starting at the top of the wall, make sure the first panel is correctly positioned as you go down. Depending on your desired installation technique, apply adhesive to the rear of every panel or use nails. It ensure the glue is strong enough to withstand the weight and lifetime of the panels and is watertight. Install each panel one at a time, making sure they fit closely against one another with no gaps. Use a level often to check your progress and make sure the panels stay straight as you move forward.
You may also like
-
Top 5 HOA and Accounting Software Solutions
-
How do you budget effectively when buying multiple gift cards?
-
How Manchester Solar Panels Can Slash Household Electricity Bills?
-
Effective Garage Door Maintenance Routines That Reduce Long-Term Repair Expenses
-
Interior Rendering Features in Monthly Showcase Portfolios: Realism, Ray Tracing, Faster Updates