
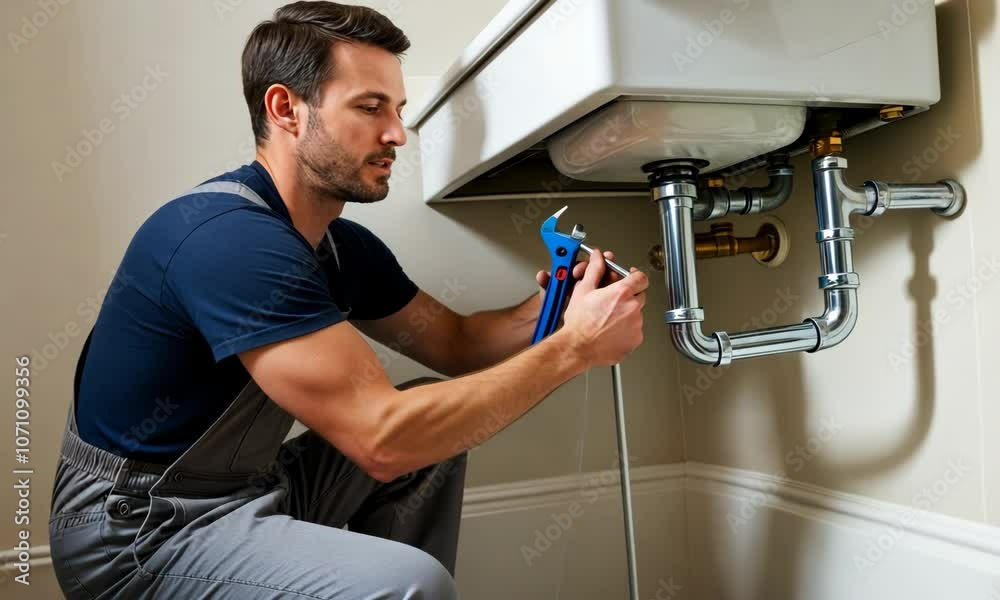
A dripping faucet can be annoying and waste a lot of water. Most leaks happen because parts inside the faucet get old or broken. A Plumber St Albans can help fix persistent leaks quickly and efficiently. Fixing a leaky faucet is a simple and cheap job that even beginners can do. Follow these easy steps to stop your faucet from dripping.
What Causes a Faucet to Leak?
The most common causes of leaks are worn-out washers or gaskets, a loose O-ring, or corrosion on the valve seat. These parts can be fixed or replaced with a faucet repair kit. Sometimes, you can hear the faucet dripping. Other times, the leak is very slow and hard to notice. You can check for slow leaks by using your home’s water meter.
How to Check for a Slow Leak
- Write down the reading on your water meter.
- Turn off water to all faucets and water-using appliances like ice makers.
- Wait 2-3 hours without using water.
- Check the meter again. If the number went up, you have a leak.
- Look at all faucets inside and outside your home to find signs of water or moisture.
Steps to Fix Your Leaky Faucet
Step 1: Turn Off the Water
Before you start fixing, turn off the water supply. You can do this by twisting the valve under the sink. If there is no valve under the sink, turn off the main water supply to the house. Then, open the faucet to drain any water left in the pipes. To avoid losing small parts down the drain, cover the sink drain with a stopper or cloth.
Step 2: Remove the Faucet Handle
Faucets come in different types: single-handle, double handle, or pull-down designs. How you remove the handle depends on your faucet.
- If there is a small screw behind the handle, use a hex key (Allen wrench) to remove it.
- If there is a screw cover on top, pry it off with a flat screwdriver, then remove the screw underneath with a Phillips screwdriver.
- For shower faucets, you might need to remove a cap and a faceplate, and possibly a locking clip.
Step 3: Remove the Cartridge or Stem
Most two-handle faucets have a cartridge or stem that controls water flow.
- Use a wrench to loosen the packing nut.
- Carefully pull the cartridge or stem straight out.
Step 4: Replace or Repair the Cartridge
Bring the old cartridge or stem to the store to find the exact replacement. Clean the area around the faucet parts. Check the O-rings and replace any that are worn or damaged. Insert the new cartridge or stem, making sure it fits properly.
Step 5: Put Everything Back Together
Reattach the handle and all parts in reverse order of removal. Turn the water back on and check your work. Run hot and cold water for a few minutes to clear any debris. Also, clean the faucet aerator (the small screen at the faucet’s tip) if the water flow is weak.